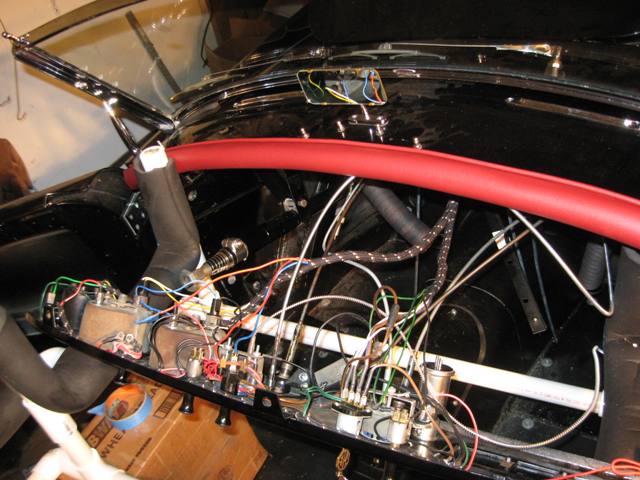
Larry's MGA Photo 4 - Wiring
Dash Wiring - View #2