|
|
FINAL ASSEMBLY |
|
| Home | Beginnings | Clean Up | Repair & Paint |
| Chassis | Assembly | Top Tonneau | Links |
| SUBASSEMBLIES |
| Engine-Trans | Seats | Susp-Brakes | Dash |
| Side Curtains | Windshield | Heater | Wiring |
| Trips | Repairs |
| FINAL ASSEMBLY |
|
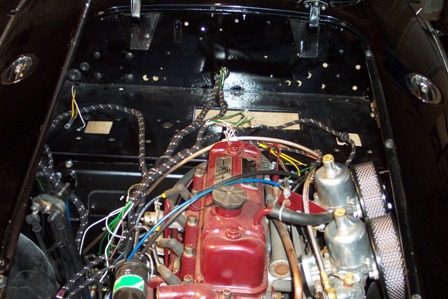
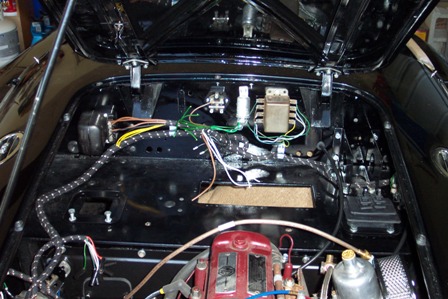
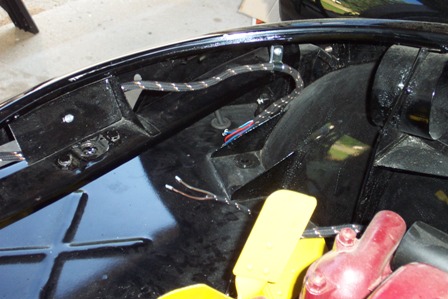
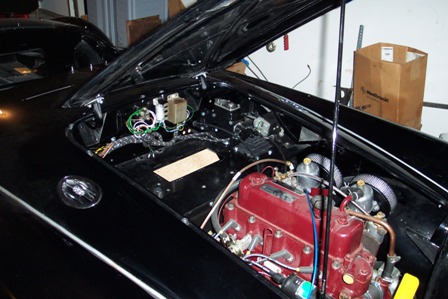
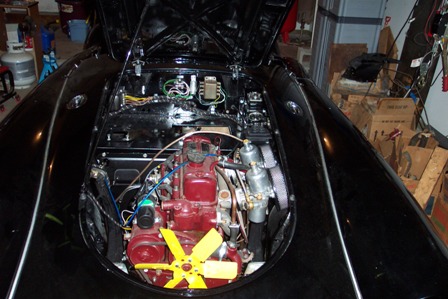
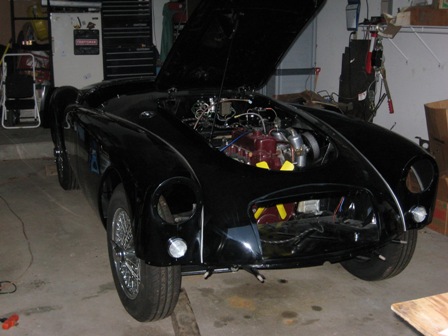
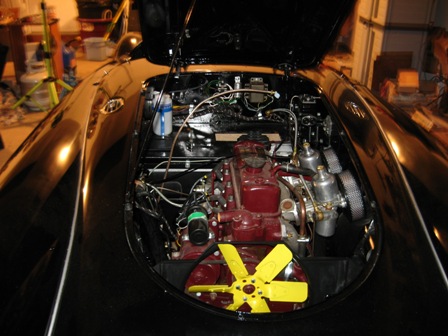
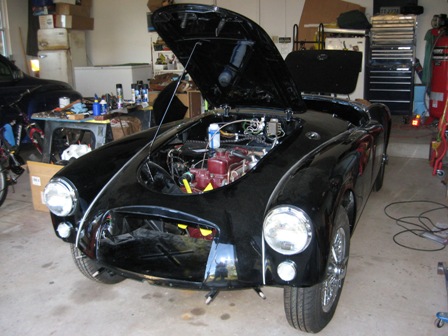
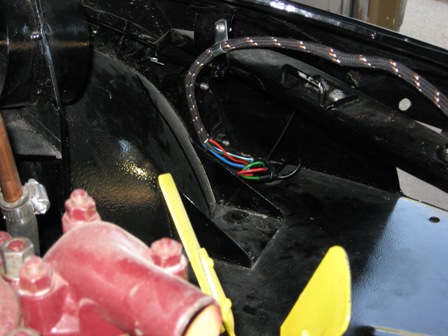
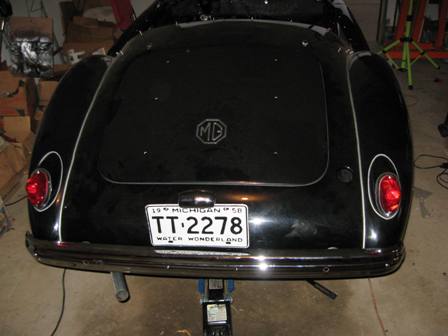
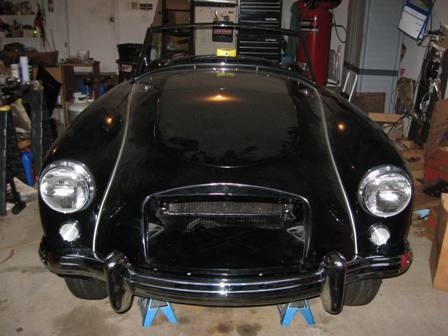
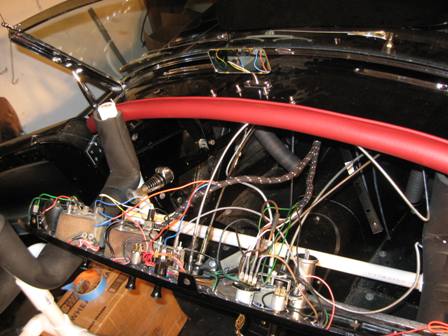
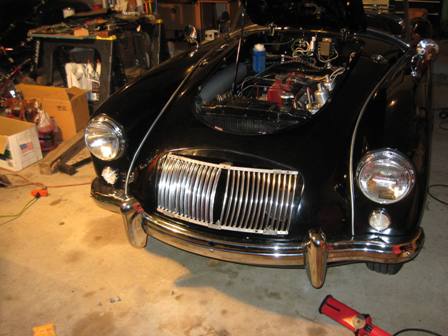
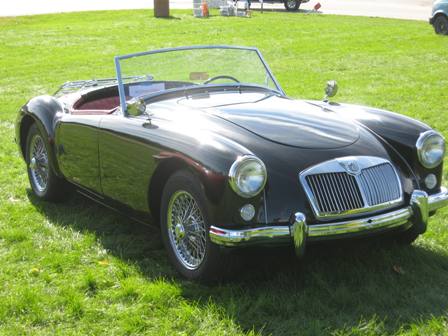
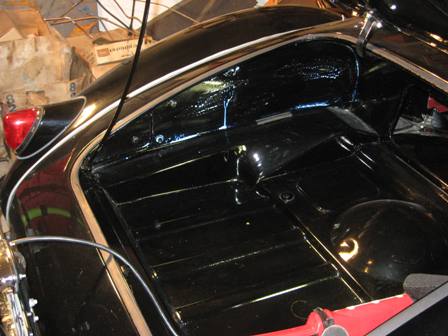
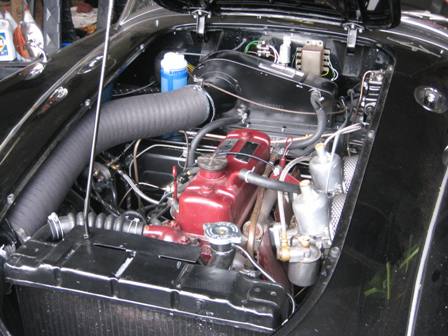
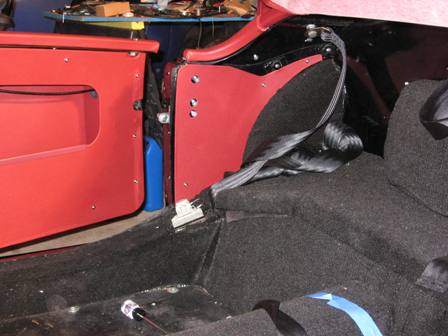
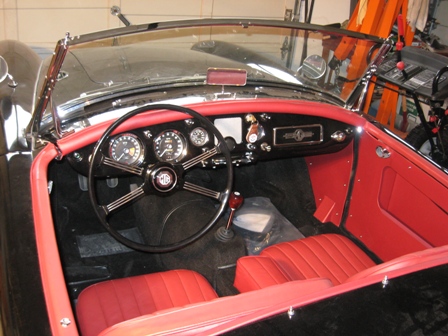
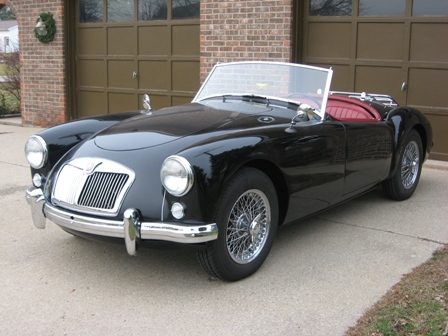
It
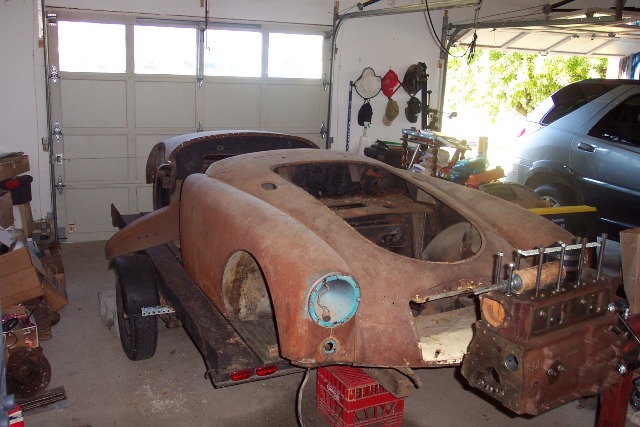
really felt good to get the body painted, re-united with the frame, and
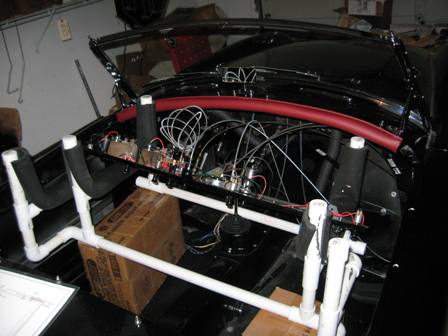
back at home. I spent a lot of time in the engine compartment since
most of the remaining work was in that area. I had bought new wiring
and that went in fairly well. I've kept a positive ground system
although I'm not sure why. I may change over to negative ground one of
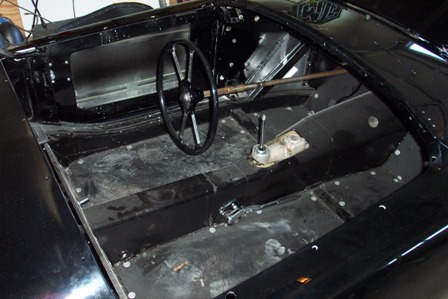
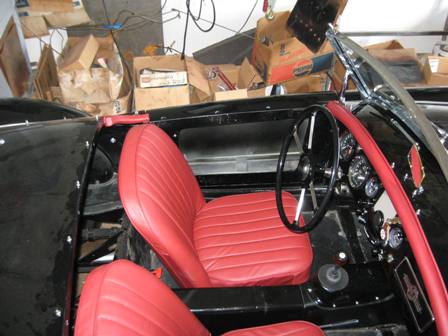
these days. The only real change I made in the wiring was to add a
cut-out switch in the ground side of the battery. The switch uses a
strange looking plastic "key" and is right behind the driver's seat.
With the key out, it's hardly noticeable and is my attempt at securing
the vehicle from being stolen.
|
|
|
|
|
|
|
|
|
|
|
|
|
|
|
|
|
|
|
|
|
|

|
|
|
|
|
|
|


|
|
|
|
|
|
|
|
|
|
|
|
|
|
|
|
|
|
|
Questions? Click here to contact me: Larry. |