|
|
TOP & TONNEAU |
|
| Home | Beginnings | Clean Up | Repair & Paint |
| Chassis | Assembly | Top Tonneau | Links |
| SUBASSEMBLIES |
| Engine-Trans | Seats | Susp-Brakes | Dash |
| Side Curtains | Windshield | Heater | Wiring |
| Trips | Repairs |
| TOP & TONNEAU |
|
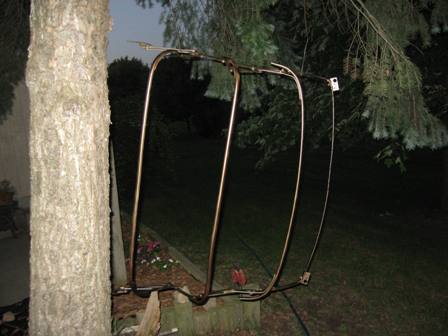
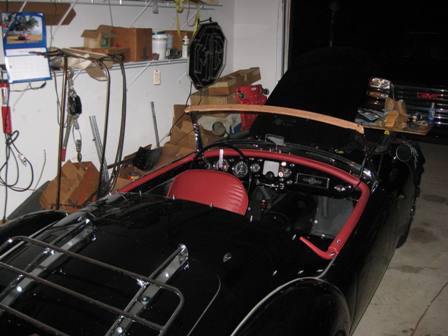
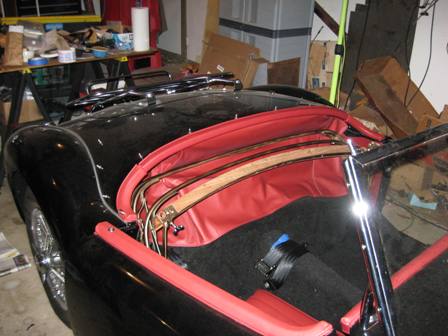
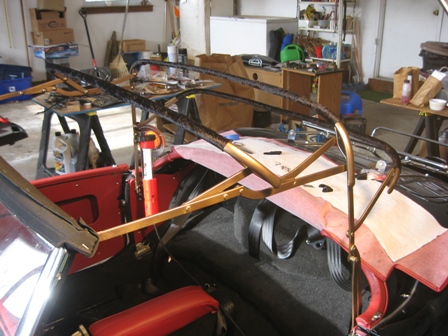
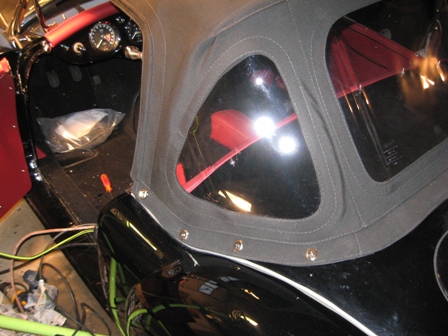
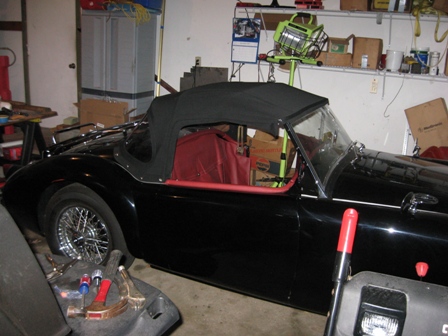
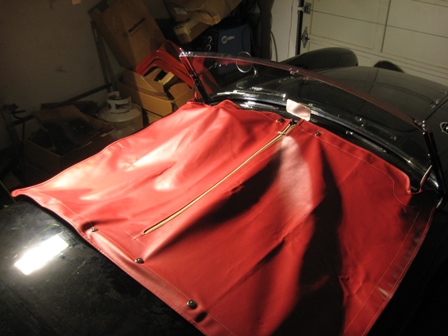
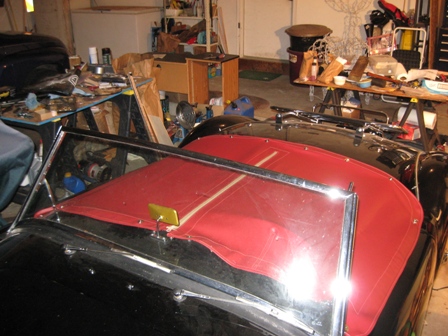
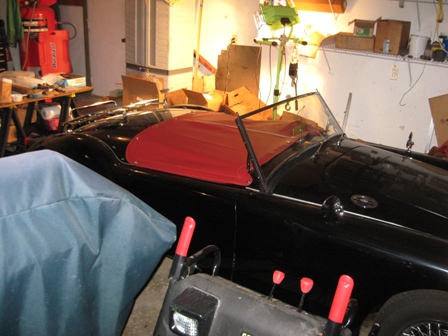
Installation
of the top and the tonneau went fairly quickly. I'd learned how to
install the Lift-the-Dot fasteners from the carpet installation so I
didn't have to learn that. The only tricky part was I left the top in
place when I installed all the lift-the-dots while I had removed the
carpet for each of the fasteners. That meant installing the fasteners
in such a way as to avoid damaging the finish of the car. By being
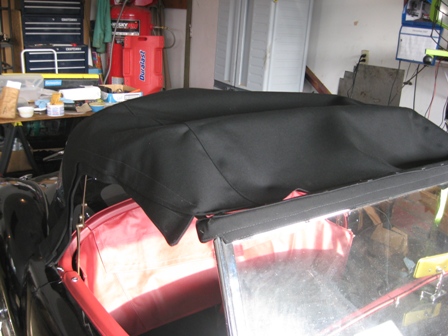
careful, it went fine. The finished top looked OK, but it had a couple
of wrinkles that I wasn't happy with. They weren't too bad and with
some time, getting wet, drying, etc., I don't even notice them
anymore.
|
|
|
|
|
|
|
|
|
|
|
|
|
|
|
|
|
|
|
|
Questions? Click here to contact me: Larry. |