|
|
BODY REPAIR & PAINT |
|
| Home | Beginnings | Clean Up | Repair & Paint |
| Chassis | Assembly | Top Tonneau | Links |
| SUBASSEMBLIES |
| Engine-Trans | Seats | Susp-Brakes | Dash |
| Side Curtains | Windshield | Heater | Wiring |
| Trips | Repairs |
| BODY REPAIR |
|
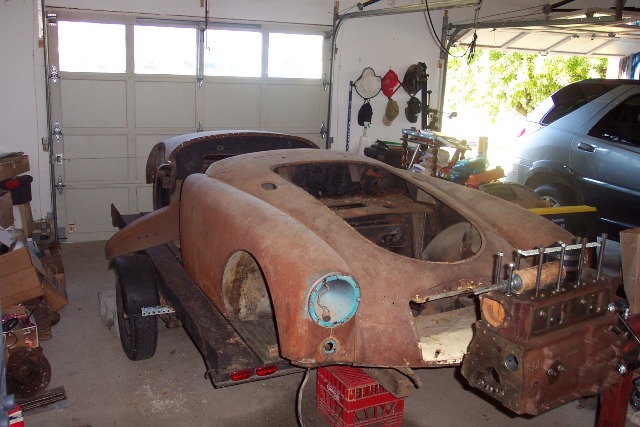
After the body & frame had been cleaned up via blasting, I knew where all
the damaged areas were. Most - especially the major damaged areas - were visible before, but a few new ones showed up
that hadn't been quite as obvious before. I made two major purchases to help with repair: a welder and an air
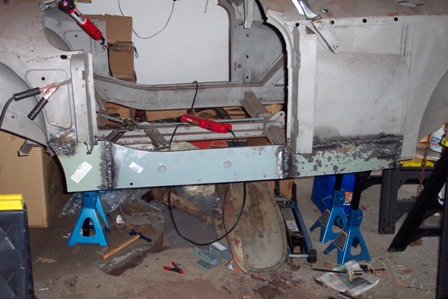
compressor. I began by removing the right side rocker area. I started there because it was in slightly worse shape than
the left side and I needed something to refer to and copy. Once that side was done, then I repaired the left side and
reversed the process, using the finished right side as my reference. I used POR-15 to coat
the interior of the inner and outer sills. I guess only time will tell how well that worked.
|
|
|
|
|
|
|
|


|
|
|
|
|
|
|


|
|
|
|
|


| BODY REPAIR (CONT.) - OFF SITE |
|
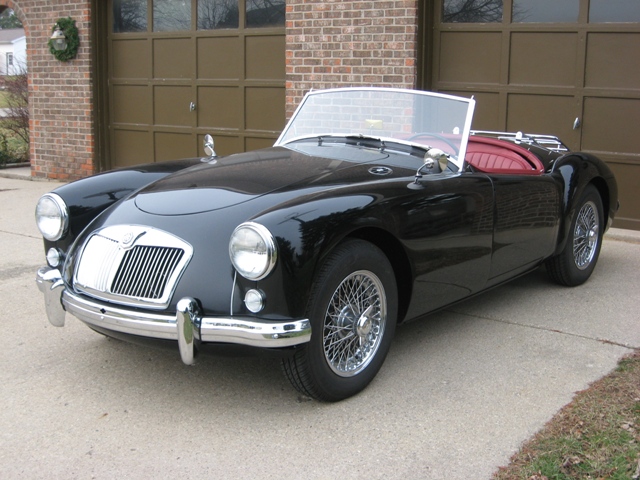
I had been looking for someone to do the painting and I knew
for some time that he'd also have to tackle some body work. I spent
quite a bit of time looking for someone. I found two local body shops
that also did work on older cars and felt good about both of them.
However, I eventually found a local individual whose "job" was body
repair and painting. He ended up being my choice for the body repair
and painting. He had an out building that he used. He would take on
just about any job from simple body repairs on current vehicles to
classic car restorations. He was also willing to do as little or as
much as you wanted. I visited him and was impressed with his work that
was in process at the time. I also realized that it looked like most of
his work was on older cars. Just like the body shops, he'd never worked
on an MGA and this did bother me some. But his attitude made me feel
like he'd do a good job. Over time, I learned that he was very
particular about things and was reluctant to do anything he didn't
think was right.
|
|
|
|
|
|
|
|


|
|
|
|
|
|
|


|
|
|
|
|
|
|


|
|
|
|
|


|
Questions? Click here to contact me: Larry. |